As an Amazon Associate, I earn from qualifying purchases
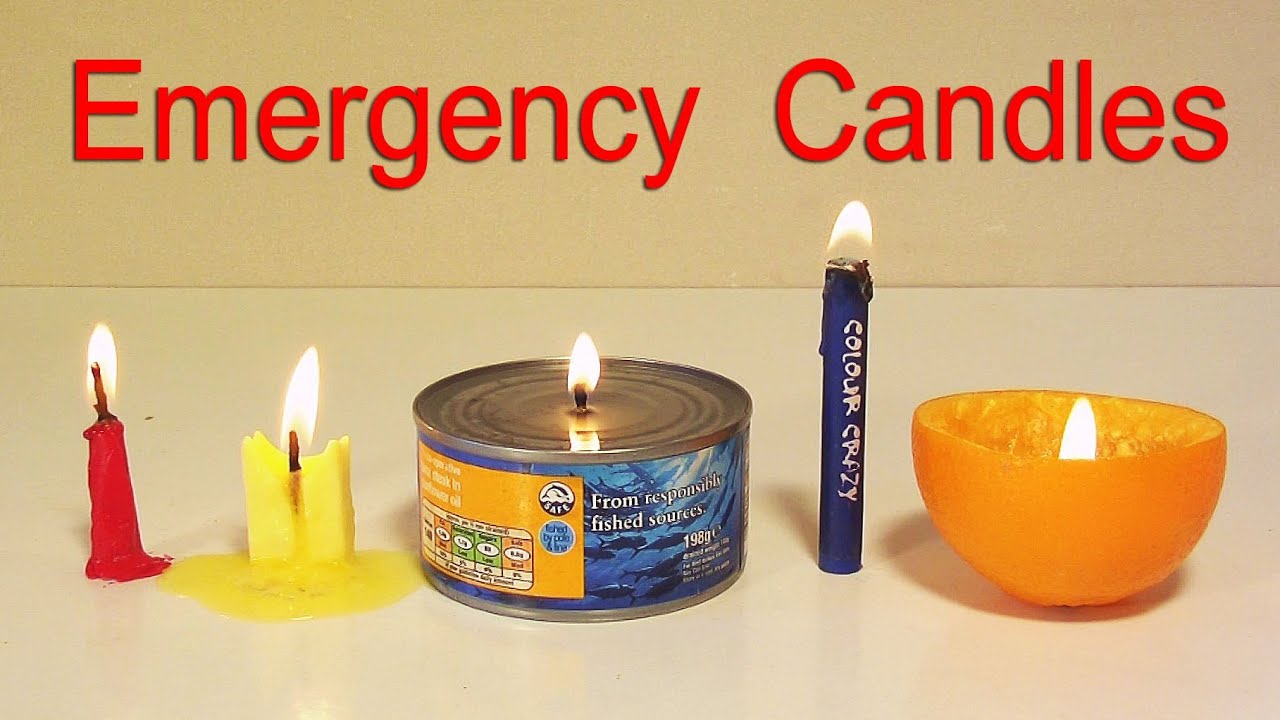
To make candles at home without wax, use household items like crayons, butter, or vegetable shortening. These alternatives are easy to find and use.
Creating candles without traditional wax can be a fun and creative project. Many common household items can serve as effective substitutes. Crayons, for example, are a popular choice because they come in various colors and melt easily. Butter and vegetable shortening can also be used to create functional candles, although they might not last as long as commercial options.
Making candles at home allows for customization and experimentation with scents and colors. This DIY approach is not only cost-effective but also provides a unique, personalized touch to your home decor.
Essential Materials
Creating candles at home without wax is a fun activity. You need the right materials to get started. This section will guide you through the essential materials.
Alternative Candle Bases
Instead of wax, you can use other bases for candles. Here are some popular alternatives:
- Butter: Yes, you can use butter to make candles. Just make sure it’s solid.
- Crayons: Old crayons can be melted to create colorful candles.
- Shortening: Vegetable shortening works well for homemade candles.
- Cooking Oil: Some oils can be used, but they might not last as long.
Tools You Will Need
Gathering the right tools is crucial. Here’s a list of items you will need:
| Tool | Purpose |
|---|---|
| Double Boiler | To melt your chosen candle base safely. |
| Candle Wicks | Essential for lighting your candle. |
| Containers | To hold the melted base and wick. |
| Thermometer | To monitor the melting point. |
| Scissors | Trim the wick to the right length. |
| Stirring Stick | Mix the base evenly. |
Having these materials will make the process smoother. Always ensure safety first.
Choosing The Right Base
Making candles at home without wax can be fun and creative. The key is to choose the right base. The base will determine the texture, scent, and burning quality of your candle. Below are some great alternatives you can use.
Soy And Beeswax Alternatives
Soy and beeswax are common wax alternatives. But there are other options too. You can use palm wax, which is eco-friendly and has a crystalline look. Coconut wax is another good choice. It burns slowly and holds fragrance well.
| Wax Alternative | Characteristics |
|---|---|
| Palm Wax | Eco-friendly, crystalline appearance |
| Coconut Wax | Slow burning, holds fragrance well |
Natural Oils And Butter
Natural oils and butter can also be used for making candles. Soybean oil and olive oil are great options. They are easy to find and burn cleanly. You can also use shea butter and cocoa butter. These butters add a creamy texture and a pleasant scent.
- Soybean oil: Easy to find, burns cleanly
- Olive oil: Common, clean-burning
- Shea butter: Adds creamy texture and scent
- Cocoa butter: Provides a pleasant scent
Preparing Your Workspace
Making candles at home without wax can be fun. But, you need to have a well-prepared workspace. This will ensure you stay safe and organized. Let’s dive into the details.
Safety Precautions
Safety is the first step. Always keep a fire extinguisher nearby. Wear gloves to protect your hands. Make sure to work in a well-ventilated area. Avoid using flammable materials near your workspace.
- Keep a fire extinguisher nearby
- Wear gloves to protect your hands
- Work in a well-ventilated area
- Remove flammable materials
Organizing Your Materials
Having your materials organized makes the process smoother. Gather all the necessary items before you start. This includes your candle base, containers, wicks, and any decorations.
| Material | Purpose |
|---|---|
| Candle Base | The main ingredient for your candle |
| Containers | To hold the candle |
| Wicks | For burning the candle |
| Decorations | To make your candle look pretty |
Place all materials on a clean, flat surface. Use a tray to keep small items together. Label your materials if needed. This helps you find everything easily.
- Gather all materials
- Place on a clean surface
- Use a tray for small items
- Label materials
Now you’re ready to make your candles. Your workspace is safe and organized. This makes the process enjoyable and efficient.
Creating The Candle Base
Making candles at home without wax can be fun. The candle base is crucial. It determines the quality of the candle. Let’s dive into creating the perfect candle base.
Melting And Mixing
Start by choosing your base material. Common options include vegetable shortening, butter, or crayons. Each has unique properties.
Place your chosen material in a heat-safe container. Use a double boiler to melt it slowly. Stir occasionally to ensure even melting. The mixture should be smooth and free of lumps.
| Material | Melting Point |
|---|---|
| Vegetable Shortening | 120°F (49°C) |
| Butter | 95°F (35°C) |
| Crayons | 105°F (40°C) |
Adding Scents And Colors
Add essential oils for a pleasant aroma. Choose your favorite scent. Popular options include lavender, peppermint, and vanilla. Add 10-15 drops into the melted base.
For color, use natural dyes or crayon shavings. Stir until the color is evenly distributed. Remember, a little goes a long way.
- Lavender – Calming
- Peppermint – Refreshing
- Vanilla – Sweet
Let the mixture cool slightly before pouring into molds. This ensures an even texture. Your candle base is now ready for the next steps!
Setting The Wick
Setting the wick is a crucial step in making candles without wax. A properly placed wick ensures your candle burns evenly and efficiently. Let’s explore how to select and secure the wick for your homemade candles.
Selecting The Wick
Choosing the right wick is essential. The wick you select impacts how well your candle burns. Here are some tips for choosing the perfect wick:
- Material: Cotton wicks are a popular choice. They burn cleanly and evenly.
- Size: The size of the wick should match the diameter of your candle. A thicker wick works better for larger candles.
- Pre-waxed: Pre-waxed wicks are easier to handle. They also provide a steadier flame.
Securing The Wick In Place
Once you’ve chosen the right wick, securing it in place is the next step. Follow these simple steps to ensure your wick stays centered:
- Use a wick holder: A wick holder keeps the wick upright and centered.
- Glue the wick: Apply a small amount of glue to the bottom of the wick. Stick it to the center of your container.
- Hold in place: Use chopsticks or a pencil to hold the wick in place while the glue dries.
Make sure the wick is straight and centered. This ensures an even burn for your candle.
| Step | Action |
|---|---|
| 1 | Select the correct wick material and size. |
| 2 | Use a wick holder to keep it upright. |
| 3 | Glue the wick to the container’s center. |
| 4 | Hold the wick in place until the glue dries. |
By following these steps, you ensure your candle burns beautifully. Now, you’re ready to move on to the next part of making your homemade candles.
Credit: discover.hubpages.com
Pouring And Molding
Pouring and molding are crucial steps in making candles at home without wax. This process shapes your candle and ensures it sets properly. Follow these steps to create beautiful, unique candles.
Choosing Molds
Choosing the right mold is essential for your candle’s shape. You can use various household items as molds. Consider using:
- Silicone baking molds
- Plastic containers
- Empty toilet paper rolls
Ensure the mold can withstand heat. Avoid using flammable materials. Clean and dry the mold before use. This ensures a smooth finish on your candles.
Pouring The Mixture
Once your mold is ready, you can start pouring the mixture. Use a heat-resistant pitcher to pour the hot mixture. Pour slowly to avoid air bubbles.
Fill the mold to the desired level. Leave some space at the top. This prevents overflow. Allow the mixture to cool and harden. This may take a few hours.
| Step | Description |
|---|---|
| 1 | Prepare the mold |
| 2 | Heat the mixture |
| 3 | Pour slowly |
| 4 | Let it cool |
Once cooled, remove the candle from the mold. Trim the wick to the desired length. Your candle is now ready for use!
Cooling And Finishing
Once your homemade candles are poured, the next steps are crucial. The cooling and finishing stages ensure your candles are safe and look great. Follow these steps for a perfect finish.
Cooling Process
Let your candles cool at room temperature. Do not rush this step. Rapid cooling can cause cracks. Place the candles in a cool, dry place. Avoid direct sunlight or drafts. This ensures an even cooling process.
Check the surface of the candles. If you see any dips or holes, add more of your melted non-wax mixture. This will fill in any imperfections. Allow the candles to cool completely. This may take several hours or overnight.
Trimming The Wick
Once the candles are cool, it’s time to trim the wick. Use sharp scissors or a wick trimmer. Trim the wick to about 1/4 inch. This length is ideal for burning. It reduces smoke and soot.
Make sure the wick stands straight. If it leans, the candle will burn unevenly. You can straighten it with a toothpick or skewer while the candle is still soft.
Following these steps ensures your homemade candles look and burn beautifully. Enjoy your handiwork and the cozy glow it brings to your home.
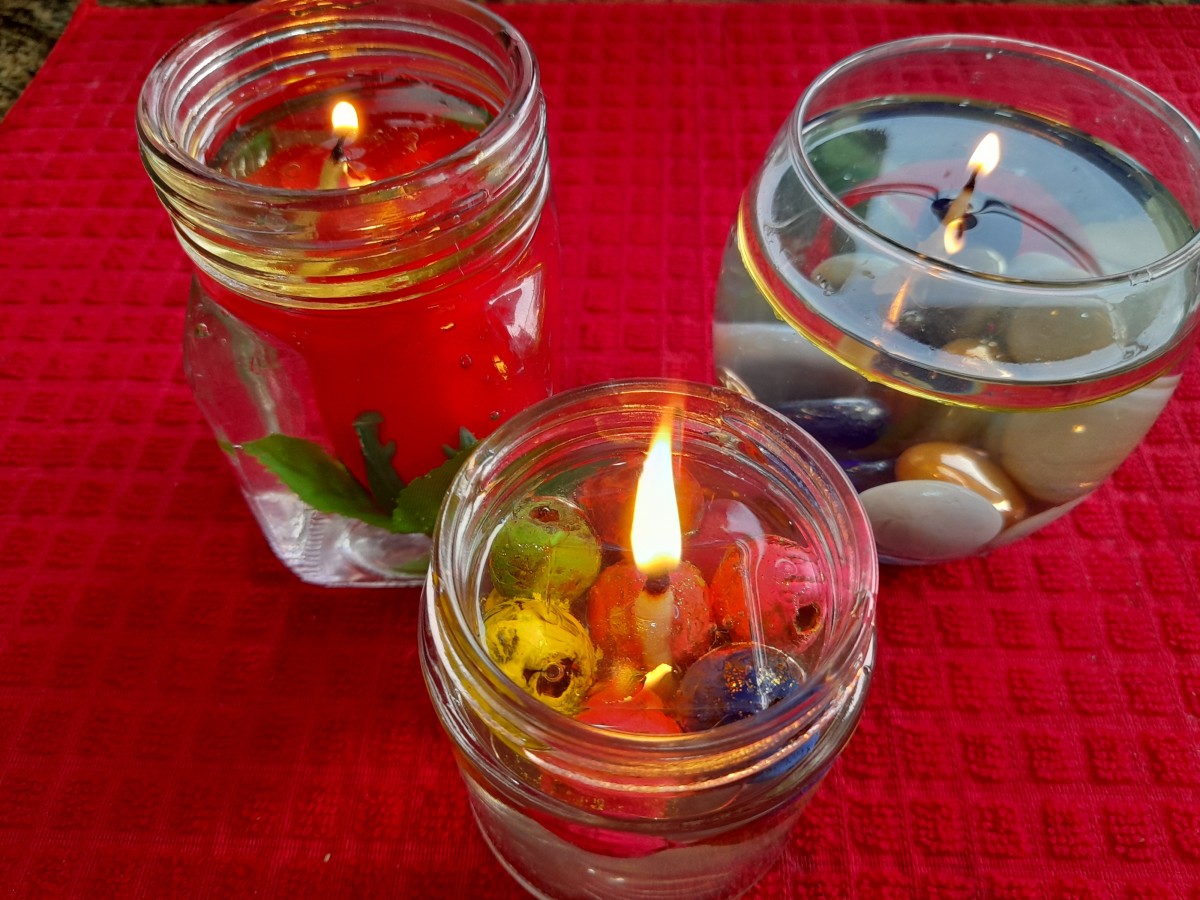
Decorating Your Candles
Decorating your homemade candles can be a fun and creative process. You can make your candles look beautiful and unique. There are many ways to decorate your candles.
Adding Decorative Elements
One way to decorate your candles is by adding decorative elements. You can use dried flowers, herbs, or glitter. These elements can be mixed into the candle or placed on top.
- Dried Flowers: Place dried flowers on the surface.
- Herbs: Sprinkle herbs into the melted mixture.
- Glitter: Add a bit of sparkle with glitter.
Make sure to press these elements gently into the candle. This will help them stay in place as the candle sets.
Personalizing Your Candles
Adding personal touches can make your candles special. You can use small charms, beads, or even write on the candle.
- Charms: Insert small charms into the candle.
- Beads: Decorate the surface with beads.
- Writing: Use a toothpick to write on the candle.
You can also use stickers or labels to add names or messages. This makes your candles perfect for gifts.
Candle Care Tips
Once you’ve crafted your beautiful candles at home without wax, knowing how to care for them is crucial. Proper care ensures safety and longevity. Follow these candle care tips to get the best experience from your homemade candles.
Proper Storage
Store your candles in a cool, dry place. Avoid direct sunlight. Sunlight can cause discoloration and fading. Heat can melt or warp your candles. Use airtight containers to keep them fresh. This prevents dust and debris from settling on them.
Maximizing Burn Time
Trim the wick to 1/4 inch before each use. This helps the candle burn evenly. Let the candle burn for at least one hour per inch of diameter. This prevents tunneling. Keep the candle away from drafts. Drafts cause uneven burning and can produce soot.
| Tip | Description |
|---|---|
| Trim the Wick | Trim to 1/4 inch for even burning. |
| Burn Time | One hour per inch of diameter. |
| Storage | Cool, dry place away from sunlight. |
| Drafts | Avoid drafts to prevent uneven burning. |
Follow these tips to enjoy your homemade candles longer. Proper storage and care make a big difference. Happy candle-making!
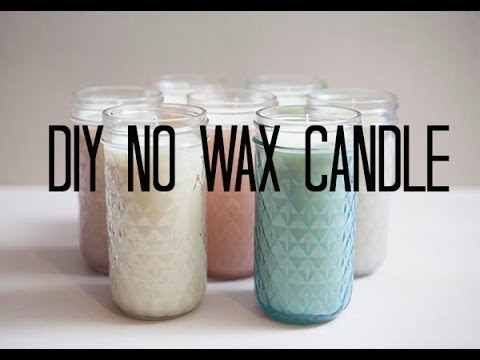
Credit: www.youtube.com
Credit: craftgossip.com
Frequently Asked Questions
Can You Make Candles Without Wax?
Yes, you can use alternatives like soy, beeswax, or even crayons to make candles.
What Materials Replace Wax In Candle Making?
Common substitutes include soy wax, beeswax, and crayon shavings.
How To Make A Soy Candle At Home?
Melt soy wax flakes, add fragrance, and pour into a mold with a wick.
Can Crayons Be Used For Candle Making?
Yes, crayons can be melted and used as a wax substitute for candles.
Are Homemade Candles Safe?
Homemade candles are safe if you use non-toxic materials and follow safety guidelines.
How Long Do Non-wax Candles Last?
The burn time depends on the material used; soy and beeswax last long.
What Is The Best Wick For Non-wax Candles?
Cotton wicks are generally the best choice for non-wax candles.
How To Add Fragrance To Homemade Candles?
Mix essential oils or fragrance oils into the melted material before pouring.
Is It Cheaper To Make Candles At Home?
Making candles at home can be more cost-effective than buying them.
Can I Use Essential Oils In Candles?
Yes, essential oils can be added to the melted material for fragrance.
Conclusion
Creating candles at home without wax is both fun and sustainable. Using alternative materials, you can craft unique, eco-friendly candles. With these steps, you will enjoy the process and the result. Start experimenting and let your creativity shine through homemade candles.
Happy candle-making!
As an Amazon Associate, I earn from qualifying purchases